

-
Welcome to Tacoma World!
You are currently viewing as a guest! To get full-access, you need to register for a FREE account.
As a registered member, you’ll be able to:- Participate in all Tacoma discussion topics
- Communicate privately with other Tacoma owners from around the world
- Post your own photos in our Members Gallery
- Access all special features of the site
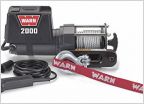 Adding wiring for a bed winch -- fuse and ground location questions
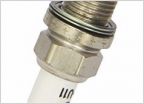 What type of spark plug should I buy for a 2TR-FE engine?
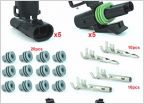 Turn signal connector ripped off, is it a Molex connector?
 I need to lift a 2003 2WD Pre Runner
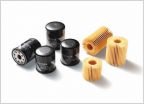 Oil Filter? 2.7
12v outlets in bed by 110v
Discussion in 'Technical Chat' started by charliegates, Nov 8, 2009.


