

-
Welcome to Tacoma World!
You are currently viewing as a guest! To get full-access, you need to register for a FREE account.
As a registered member, you’ll be able to:- Participate in all Tacoma discussion topics
- Communicate privately with other Tacoma owners from around the world
- Post your own photos in our Members Gallery
- Access all special features of the site
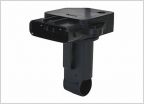 Testing air filters/cfm/maf?
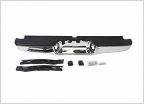 1st gen. Rear Bumper- chrome
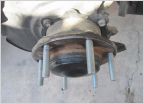 Extended stud from 03 matrix wont fit in my front hub
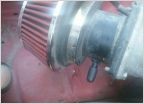 Rough Idol after Throttle body Cleaning
 Double Tube Bumper on 1st Gen?
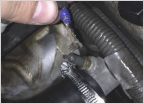 ECT (engine coolant temperature) sensor connector broke
WRITE UP: 1st gen "satoshi" or deep dish mesh grille.
Discussion in '1st Gen. Tacomas (1995-2004)' started by Hambone155, Mar 31, 2011.


