

-
Welcome to Tacoma World!
You are currently viewing as a guest! To get full-access, you need to register for a FREE account.
As a registered member, you’ll be able to:- Participate in all Tacoma discussion topics
- Communicate privately with other Tacoma owners from around the world
- Post your own photos in our Members Gallery
- Access all special features of the site
 UP-ARMOURING TACO SHELL - TOYODER EMBLEM HELP
 Aisin timing belt kit
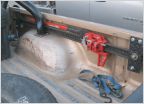 Any pics of a Hi-Lift jack mounted to the bed rail?
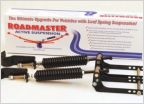 Roadmaster Suspension
 Angel Eyes LEDs
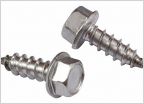 Replacement Wheel Well Screws on 1st Gen
HOW TO: Remove/Install a starter/fix a clicking starter (2.7 liter 3RZ-FE engine)
Discussion in '1st Gen. Tacomas (1995-2004)' started by trdracing5, Sep 17, 2011.
Page 1 of 4
Page 1 of 4


