

-
Welcome to Tacoma World!
You are currently viewing as a guest! To get full-access, you need to register for a FREE account.
As a registered member, you’ll be able to:- Participate in all Tacoma discussion topics
- Communicate privately with other Tacoma owners from around the world
- Post your own photos in our Members Gallery
- Access all special features of the site
 Help with getting Coolant Level Right
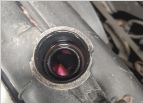
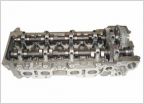 Just bought a '97 3RZ 4wd with 240k for cheap, need help with major replacement parts
 Undercoating?
 Inexpensive but reliable 16" wheels with 0 or negative offset. Recommendations Appreciated.
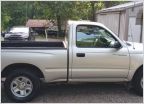 New to me Tacoma 2002
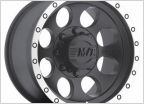 Will These Wheels Clear?
How to replace O2 Sensors
Discussion in '1st Gen. Tacomas (1995-2004)' started by Alderleet, Dec 22, 2011.
Page 1 of 4
Page 1 of 4
Products Discussed in


