

-
Welcome to Tacoma World!
You are currently viewing as a guest! To get full-access, you need to register for a FREE account.
As a registered member, you’ll be able to:- Participate in all Tacoma discussion topics
- Communicate privately with other Tacoma owners from around the world
- Post your own photos in our Members Gallery
- Access all special features of the site
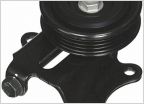 PS Belt Tensioner Pulley
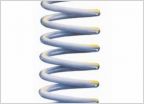 Dumb question on OME 2882 Coils
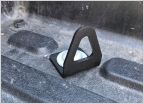 Securing items during rough adventures
 Post your phone (or electronic accessory) mounts!
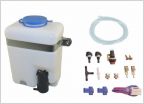 Put in this cheap easy fix for window washer reservoir
 My First Check Engine Light
How To: Clutch Slave cylinder rebuild
Discussion in '1st Gen. Tacomas (1995-2004)' started by TacoMX, Jan 9, 2012.


