

-
Welcome to Tacoma World!
You are currently viewing as a guest! To get full-access, you need to register for a FREE account.
As a registered member, you’ll be able to:- Participate in all Tacoma discussion topics
- Communicate privately with other Tacoma owners from around the world
- Post your own photos in our Members Gallery
- Access all special features of the site
 98 Tacoma 2.7L - Vacuum and Coolant hose replacement kit?
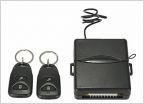 Help With Keyless Entry Install
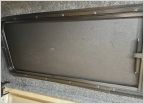 Tidy Camper Shell Blackout Solution
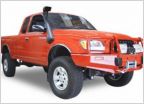 Snorkel
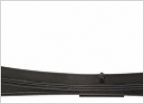 Finishing up OEM leaf spring replacement - stupid question
 Toytec shock eye bushing
Proper way to press in new rear wheel bearing?
Discussion in '1st Gen. Tacomas (1995-2004)' started by wolfgang123, Apr 23, 2013.
Page 1 of 3
Page 1 of 3


