

-
Welcome to Tacoma World!
You are currently viewing as a guest! To get full-access, you need to register for a FREE account.
As a registered member, you’ll be able to:- Participate in all Tacoma discussion topics
- Communicate privately with other Tacoma owners from around the world
- Post your own photos in our Members Gallery
- Access all special features of the site
 How do I wire my 3rd brake light (camper)
 Spray Bed liner
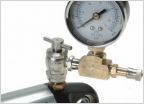 Need to refill nitrogen in my king shocks
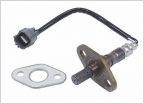 P0420 code, heavy exhaust smell, bad mpg, rough idle
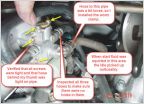 How to test coil pack
 Need Lift Ideas and/or suggestions
How To: Remove and Replace CV Axles on 1st Gen A.D.D.
Discussion in '1st Gen. Tacomas (1995-2004)' started by TacomaJPP, Sep 2, 2013.


