

-
Welcome to Tacoma World!
You are currently viewing as a guest! To get full-access, you need to register for a FREE account.
As a registered member, you’ll be able to:- Participate in all Tacoma discussion topics
- Communicate privately with other Tacoma owners from around the world
- Post your own photos in our Members Gallery
- Access all special features of the site
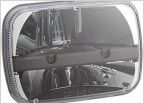 Retrofit headlights on 96
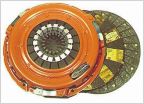 Flywheel toughness and Marlin Crawler clutch
 Dead Rat inside blower motor, 2001 Access cab Tacoma, 315K miles
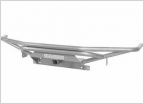 Aftermarket front and rear bumpers
 Can the wrong air/fuel ratio sensor cause p0171?
How To: Celica Seat Swap (1st Gen.)
Discussion in '1st Gen. Tacomas (1995-2004)' started by TTBlues, Oct 23, 2013.


