

-
Welcome to Tacoma World!
You are currently viewing as a guest! To get full-access, you need to register for a FREE account.
As a registered member, you’ll be able to:- Participate in all Tacoma discussion topics
- Communicate privately with other Tacoma owners from around the world
- Post your own photos in our Members Gallery
- Access all special features of the site
 Pictures of Trail gear rock assault front bumper
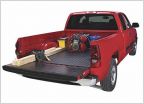 DIY bed mat from Tractor Supply
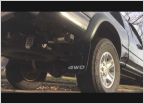 Yet another catback question.
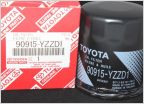 OEM OIL FILTERS! Will these fit our trucks?
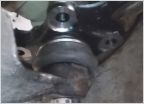 OEM Ball Joint doesnt fit right - Gurus Needed
 V6 valve cover gasket replacement
I dream of removing leaf springs without a torch.
Discussion in '1st Gen. Tacomas (1995-2004)' started by Indy, Jan 30, 2014.


