

-
Welcome to Tacoma World!
You are currently viewing as a guest! To get full-access, you need to register for a FREE account.
As a registered member, you’ll be able to:- Participate in all Tacoma discussion topics
- Communicate privately with other Tacoma owners from around the world
- Post your own photos in our Members Gallery
- Access all special features of the site
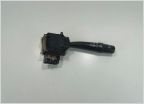 Intermittent wipers
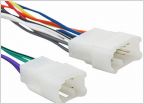 Aftermarket Radio
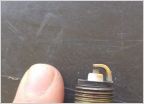 Well this is great!
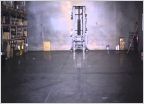 Can anyone recommend some good aftermarket headlights for my 97?
 Oil filter study
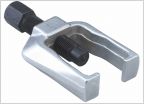 Tie rods
who here has a CBI bushmaster bumper?
Discussion in '1st Gen. Tacomas (1995-2004)' started by 4banger4x4, Apr 14, 2014.
Page 1 of 3
Page 1 of 3


