

-
Welcome to Tacoma World!
You are currently viewing as a guest! To get full-access, you need to register for a FREE account.
As a registered member, you’ll be able to:- Participate in all Tacoma discussion topics
- Communicate privately with other Tacoma owners from around the world
- Post your own photos in our Members Gallery
- Access all special features of the site
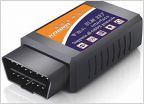 Bluetooth OBD II scanners for iPhone
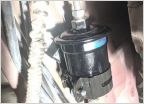 Fuel Filter Replacement
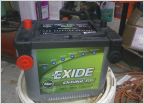 Battery question
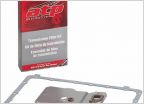 Recommendations regarding transmission oil filters
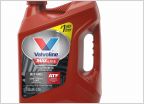 What type of transmission fluid?
Banjo Fitting Seal- Tundra Brake Upgrade
Discussion in '1st Gen. Tacomas (1995-2004)' started by Dusty T., Jun 24, 2014.
Page 3 of 4
Page 3 of 4


