

-
Welcome to Tacoma World!
You are currently viewing as a guest! To get full-access, you need to register for a FREE account.
As a registered member, you’ll be able to:- Participate in all Tacoma discussion topics
- Communicate privately with other Tacoma owners from around the world
- Post your own photos in our Members Gallery
- Access all special features of the site
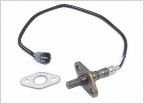 P0141 code help
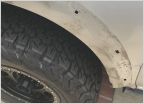 Best way to remove this weird adhesive?
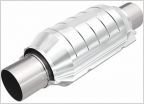 Good brand for catalytic converter
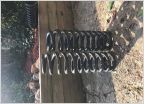 Stock Height Front Suspension Upgrade
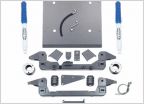 Pro comp 4" Suspension Lift
 Rotor Help
Ham radio antenna mount 04 Tacoma
Discussion in '1st Gen. Tacomas (1995-2004)' started by chuckbcuz57, Aug 11, 2014.


