

-
Welcome to Tacoma World!
You are currently viewing as a guest! To get full-access, you need to register for a FREE account.
As a registered member, you’ll be able to:- Participate in all Tacoma discussion topics
- Communicate privately with other Tacoma owners from around the world
- Post your own photos in our Members Gallery
- Access all special features of the site
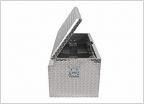 Tool box chest?
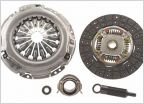 What's your favorite clutch for the money
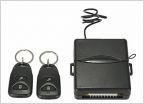 Help With Keyless Entry Install
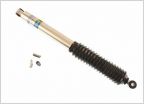 Installed rear leafs-need shock suggestions
 Under headlight trim
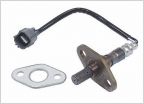 Air Fuel and Oxygen Sensors - quick question
Truck Surgery has commenced :)
Discussion in '1st Gen. Tacomas (1995-2004)' started by NOLA ItsNotOva, Aug 26, 2014.
Page 1 of 2
Page 1 of 2


