

-
Welcome to Tacoma World!
You are currently viewing as a guest! To get full-access, you need to register for a FREE account.
As a registered member, you’ll be able to:- Participate in all Tacoma discussion topics
- Communicate privately with other Tacoma owners from around the world
- Post your own photos in our Members Gallery
- Access all special features of the site
 S2k antenna mod
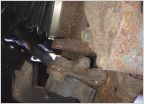 HELP! New strut too long! Cannot attach lbj!
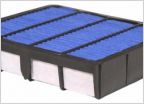 AFE Pro dry vs. Pro-5R (oiled)
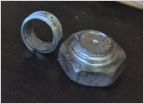 Front Diff Drain Plug SHEARED?!?
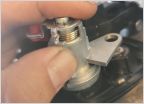 Door Lock Cylinder
 National Wheel Bearings 517011 / KOYO OE
Plastic Bedliner Replacement with Herculiner Write up (pics)
Discussion in '1st Gen. Tacomas (1995-2004)' started by tacoman101, Nov 14, 2009.
Page 1 of 2
Page 1 of 2


