

-
Welcome to Tacoma World!
You are currently viewing as a guest! To get full-access, you need to register for a FREE account.
As a registered member, you’ll be able to:- Participate in all Tacoma discussion topics
- Communicate privately with other Tacoma owners from around the world
- Post your own photos in our Members Gallery
- Access all special features of the site
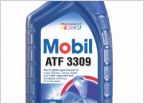 1996 Toyota Tacoma 3.4l Automatic Tranmission Fluid. What brand??
 Front D-shackle mounting location?
 Fumoto Oil Drain Valve/Skid Plate-?
 Timing Belt, Water Pump, etc Parts?
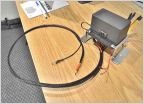 What's the best way to run multiple items off battery?
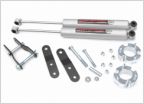 Tires
TiresHow to paint hubs and wheel spacers to match your wheels.
Discussion in '1st Gen. Tacomas (1995-2004)' started by Sheepdog, Sep 17, 2010.


