

-
Welcome to Tacoma World!
You are currently viewing as a guest! To get full-access, you need to register for a FREE account.
As a registered member, you’ll be able to:- Participate in all Tacoma discussion topics
- Communicate privately with other Tacoma owners from around the world
- Post your own photos in our Members Gallery
- Access all special features of the site
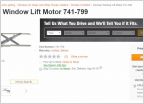 Window Motor and Regulator Replacement Brand ?
 Good deal on Hella 500's
 Spark plugs
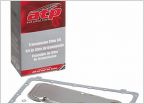 Automatic transmission filter kits
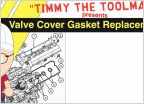 Valve cover gasket replacement
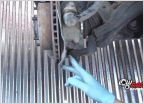 Lower ball joint replacement for the 1st time
AEROFORCE Interceptor gauge install
Discussion in '1st Gen. Tacomas (1995-2004)' started by Wangofree, Jul 23, 2011.


