

-
Welcome to Tacoma World!
You are currently viewing as a guest! To get full-access, you need to register for a FREE account.
As a registered member, you’ll be able to:- Participate in all Tacoma discussion topics
- Communicate privately with other Tacoma owners from around the world
- Post your own photos in our Members Gallery
- Access all special features of the site
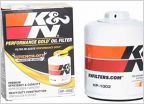 Oil change
 DIY Bedside Removal for Fiberglass Bedsides (LT stuffs)
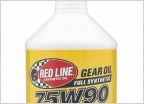 Correct differential oil?
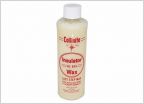 Lusterizing Sealant application
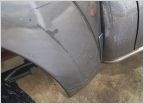 Rear Wheel Well Guard Decal Thing
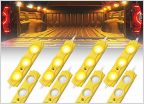 Underlight turn signals
Garmin 60CSx Install in 05+ Tacoma
Discussion in '2nd Gen. Tacomas (2005-2015)' started by barlowrs, Sep 13, 2010.
Page 1 of 2
Page 1 of 2

