

-
Welcome to Tacoma World!
You are currently viewing as a guest! To get full-access, you need to register for a FREE account.
As a registered member, you’ll be able to:- Participate in all Tacoma discussion topics
- Communicate privately with other Tacoma owners from around the world
- Post your own photos in our Members Gallery
- Access all special features of the site
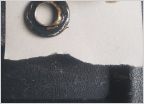 06 base 2.7 oil pan stripped drain plug
 Cruise Control Install Help
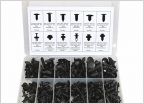 Shifter boot
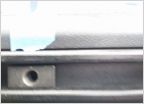 Need a 'name' for a piece of hardware please.
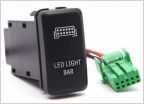 Toggle switch?
 ATOTO A6 PRO - Review and Installation guide
Base Model Overhead Console Mod ??
Discussion in '2nd Gen. Tacomas (2005-2015)' started by TacomaBuzz, May 10, 2011.
Page 2 of 2
Page 2 of 2


