

-
Welcome to Tacoma World!
You are currently viewing as a guest! To get full-access, you need to register for a FREE account.
As a registered member, you’ll be able to:- Participate in all Tacoma discussion topics
- Communicate privately with other Tacoma owners from around the world
- Post your own photos in our Members Gallery
- Access all special features of the site
 6112s in the front. Whats the best option for rear shocks with 1" spacer block?
 Just bought a 2012 tacoma DCLB, What Mods?
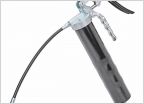 Portable grease gun?
 Putting T badge back on grillcraft
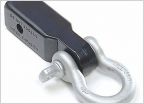 Recovery Straps
 Which line is the trans cooler Return ?
BenWA's version of a power sliding rear window retrofit >>>
Discussion in '2nd Gen. Tacomas (2005-2015)' started by BenWA, Jun 24, 2011.
Page 1 of 8
Page 1 of 8


