

-
Welcome to Tacoma World!
You are currently viewing as a guest! To get full-access, you need to register for a FREE account.
As a registered member, you’ll be able to:- Participate in all Tacoma discussion topics
- Communicate privately with other Tacoma owners from around the world
- Post your own photos in our Members Gallery
- Access all special features of the site
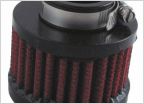 Air pump filter
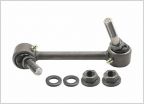 Heavy Duty / Greasable Sway Bar End Links?
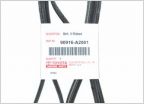 Serpentine Belt
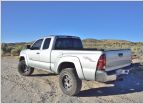 New Build Project...some questions, probably dumb.
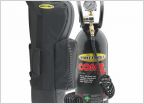 Smittybilt CO2 compact air system, are they worth investing?
 Any Updates On Disabling The Tire Pressure Monitoring System?
Help! removing radio bezel
Discussion in '2nd Gen. Tacomas (2005-2015)' started by TacomaRXP, Oct 19, 2011.


