

-
Welcome to Tacoma World!
You are currently viewing as a guest! To get full-access, you need to register for a FREE account.
As a registered member, you’ll be able to:- Participate in all Tacoma discussion topics
- Communicate privately with other Tacoma owners from around the world
- Post your own photos in our Members Gallery
- Access all special features of the site
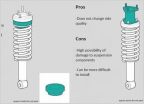 Coil spacers with 5100's?
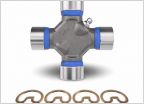 Bad Center Carrier Bearing at 47k Miles??
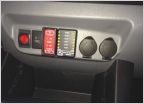 Dual Battery Setup Help
 Broken Antenna
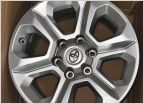 OEM 17” 4Runner wheels on my 2013?
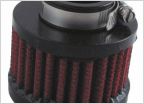 Air pump filter
The *real* blower motor on low chirp problem and reapir
Discussion in '2nd Gen. Tacomas (2005-2015)' started by fireboltr, Aug 24, 2012.
Page 1 of 2
Page 1 of 2


