

-
Welcome to Tacoma World!
You are currently viewing as a guest! To get full-access, you need to register for a FREE account.
As a registered member, you’ll be able to:- Participate in all Tacoma discussion topics
- Communicate privately with other Tacoma owners from around the world
- Post your own photos in our Members Gallery
- Access all special features of the site
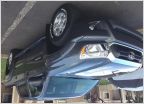 Very first Tacoma...now what can I do with it first?
 Weird - Dash Lights
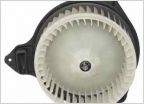 Blower motor part number?
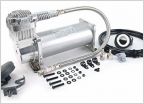 Viair 450c vs ARB ckma12 ... help me decide
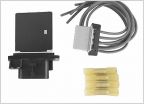 AC FAILED MAYDAY
 Rusted&stupid rear differential fill bolt
Switching things up! Have some switches questions!
Discussion in '2nd Gen. Tacomas (2005-2015)' started by ElTacoCaliente, Dec 9, 2012.


