

-
Welcome to Tacoma World!
You are currently viewing as a guest! To get full-access, you need to register for a FREE account.
As a registered member, you’ll be able to:- Participate in all Tacoma discussion topics
- Communicate privately with other Tacoma owners from around the world
- Post your own photos in our Members Gallery
- Access all special features of the site
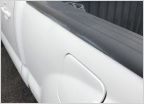 Restoring trim
 2008 Tacoma 4x4 6speed manual trans. Should I use conventional or synthetic gear oil?
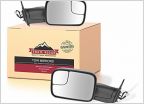 Side Mirror Replacements?
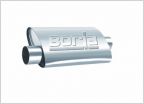 Borla 40352, What tip?
 Portiable CB
 Dual Battery System for Dometic
vallions on board air writeup
Discussion in '2nd Gen. Tacomas (2005-2015)' started by vanillion, May 12, 2013.


