

-
Welcome to Tacoma World!
You are currently viewing as a guest! To get full-access, you need to register for a FREE account.
As a registered member, you’ll be able to:- Participate in all Tacoma discussion topics
- Communicate privately with other Tacoma owners from around the world
- Post your own photos in our Members Gallery
- Access all special features of the site
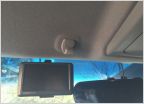 Removing your headliner and insulating/sound deadening
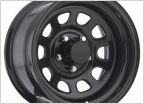 Pro comp wheels fit?
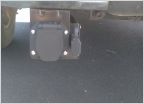 7-Pin Trailer Harness/Plug Replacement Tip
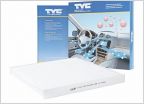 Cabin Air Filters -- $3.48 each
 A/C - post your alternative cooling setups
 Tire question
Jacked up my oil pan :(
Discussion in '2nd Gen. Tacomas (2005-2015)' started by ScissorMeTimbers, Jun 9, 2013.
Page 2 of 4
Page 2 of 4


