

-
Welcome to Tacoma World!
You are currently viewing as a guest! To get full-access, you need to register for a FREE account.
As a registered member, you’ll be able to:- Participate in all Tacoma discussion topics
- Communicate privately with other Tacoma owners from around the world
- Post your own photos in our Members Gallery
- Access all special features of the site
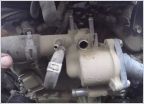 Best Water Pump To Use? Replacement Time
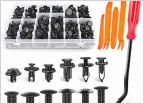 Anybody know p/n of the door retainer clips that belong near the tweeters?
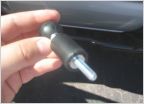 Garmin 60CSx Install in 05+ Tacoma
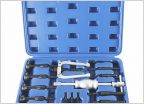 Needle bearing removal
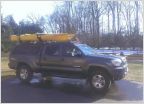 Custom kayak rack?
 Front rear diff oil change friction additive?
Easiest Place To Tap Dome Light Wire (2nd Gen w/ link to 3rd Gen)
Discussion in '2nd Gen. Tacomas (2005-2015)' started by .jake, Nov 22, 2013.
Page 1 of 4
Page 1 of 4

