

-
Welcome to Tacoma World!
You are currently viewing as a guest! To get full-access, you need to register for a FREE account.
As a registered member, you’ll be able to:- Participate in all Tacoma discussion topics
- Communicate privately with other Tacoma owners from around the world
- Post your own photos in our Members Gallery
- Access all special features of the site
 Radio Head units with style
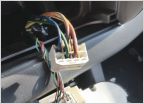 Heat&A/C fan stopped working
 Larger oil filter than stock?
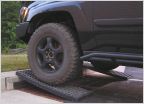 Traction Boards help
 Need Mat for folded down seat in DC
Wheel Bearings Changed (Pictures)
Discussion in '2nd Gen. Tacomas (2005-2015)' started by Taco93, Apr 25, 2011.
Page 1 of 5
Page 1 of 5


