

-
Welcome to Tacoma World!
You are currently viewing as a guest! To get full-access, you need to register for a FREE account.
As a registered member, you’ll be able to:- Participate in all Tacoma discussion topics
- Communicate privately with other Tacoma owners from around the world
- Post your own photos in our Members Gallery
- Access all special features of the site
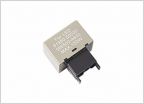 No flash on door lock after flasher relay replacement
 Adding lighting to my topper....
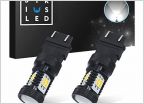 Replaced DTRL's with LEDs...what did I do wrong.
 8 gang switch panel
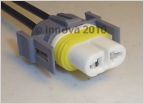 Weather pack connector for 2012 fog lamps
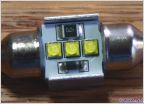 Festoon 31mm to 400lm conversion - no BS
Auto OEM fogs for 2nd gen Tacos without fogs
Discussion in 'Lighting' started by 4Wheelin4Banger, Aug 3, 2011.


