

-
Welcome to Tacoma World!
You are currently viewing as a guest! To get full-access, you need to register for a FREE account.
As a registered member, you’ll be able to:- Participate in all Tacoma discussion topics
- Communicate privately with other Tacoma owners from around the world
- Post your own photos in our Members Gallery
- Access all special features of the site
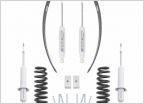 Pro Comp 3" any good?
 Extended Travel Video
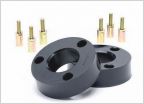 Advice on leveling kit or....
 Pro Comp Pro Runner SS Height Adjustables
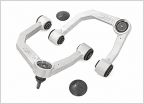 Diff drop for 3.5 inch lift?
 Are OME rear shocks long enough for all pro expo's?
DIY LCA Ball Joint Replacement 2005+ Tacoma
Discussion in 'Suspension' started by XXXX, Sep 7, 2011.
Page 1 of 6
Page 1 of 6
Products Discussed in


