

-
Welcome to Tacoma World!
You are currently viewing as a guest! To get full-access, you need to register for a FREE account.
As a registered member, you’ll be able to:- Participate in all Tacoma discussion topics
- Communicate privately with other Tacoma owners from around the world
- Post your own photos in our Members Gallery
- Access all special features of the site
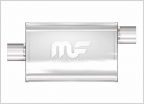 Best Exhaust Choice
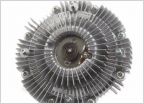 Fan clutch - how long can I run without fan clutch engaging on 2RZE
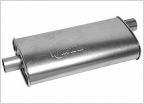 Toyota exhaust help??
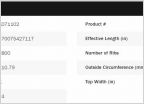 2TR-FE Performance Thread
 2012 spark plug & serpentine belt change out
Water Bypass Pipe No.1
Discussion in '4 Cylinder' started by SMS909, Jan 27, 2012.
Page 1 of 12
Page 1 of 12
