

-
Welcome to Tacoma World!
You are currently viewing as a guest! To get full-access, you need to register for a FREE account.
As a registered member, you’ll be able to:- Participate in all Tacoma discussion topics
- Communicate privately with other Tacoma owners from around the world
- Post your own photos in our Members Gallery
- Access all special features of the site
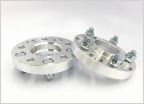 5-Lug Wheel Spacers
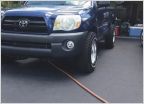 New Cap + Tools = Build
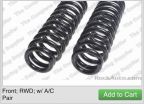 Official 1995.5-2004 5lug tacoma lifted/lowerd suspension guide and general info
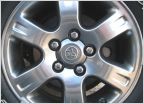 Wheels and suspension question
 5 Lug Wheel/Tire Suggestions?
 Jeep jk 5 on 4.5 wheel spacers HELP!
Fix Your 5 Lug: LCA Bushings
Discussion in '5 Lug' started by 2TRunner, Jan 10, 2012.


