

-
Welcome to Tacoma World!
You are currently viewing as a guest! To get full-access, you need to register for a FREE account.
As a registered member, you’ll be able to:- Participate in all Tacoma discussion topics
- Communicate privately with other Tacoma owners from around the world
- Post your own photos in our Members Gallery
- Access all special features of the site
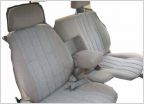 Seat Cover and Carpet Questions
 Light Bar Behind Valence
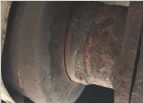 Catalytic converter question.
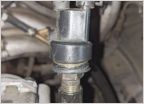 2.7L Power Steering problems
 Filters from dealership.....
 Amsoil Oil Question
P1135 Sensor - Is this it? Denso 2349001
Discussion in '1st Gen. Tacomas (1995-2004)' started by Badbagger, Aug 19, 2012.

