

-
Welcome to Tacoma World!
You are currently viewing as a guest! To get full-access, you need to register for a FREE account.
As a registered member, you’ll be able to:- Participate in all Tacoma discussion topics
- Communicate privately with other Tacoma owners from around the world
- Post your own photos in our Members Gallery
- Access all special features of the site
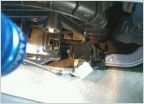 Blower motor connector fried (07 PreRunner)
 Watered Down Tacoma
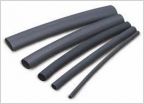 Mass Air Flow harness
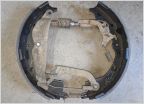 2nd and 3rd gen drum brake reference - not a white glove service
 2gen oil filters
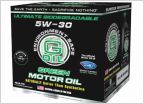 Green Earth Technologies "Green Oil"
2012 Access Cab Katzkin Leather Installation - pix heavy
Discussion in 'Technical Chat' started by B737, Sep 15, 2012.
Page 1 of 2
Page 1 of 2


