

-
Welcome to Tacoma World!
You are currently viewing as a guest! To get full-access, you need to register for a FREE account.
As a registered member, you’ll be able to:- Participate in all Tacoma discussion topics
- Communicate privately with other Tacoma owners from around the world
- Post your own photos in our Members Gallery
- Access all special features of the site
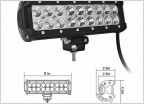 Amazon Light Bars
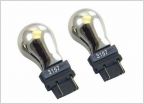 Trying to find 'Chrome' Turn Signal Bulb
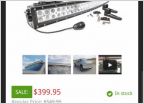 50" Curved Light Bar Mounting Brackets?
 No more amber in my tail lights
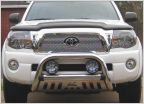 PIAA 510, 520 or 540 in stock fog locations??
 Need help wiring Baja Design S8 light bar to Switch Pro 9100
Switched LED Cargo Light Mod Writeup w/Pics
Discussion in 'Lighting' started by brian, Sep 17, 2012.


