

-
Welcome to Tacoma World!
You are currently viewing as a guest! To get full-access, you need to register for a FREE account.
As a registered member, you’ll be able to:- Participate in all Tacoma discussion topics
- Communicate privately with other Tacoma owners from around the world
- Post your own photos in our Members Gallery
- Access all special features of the site
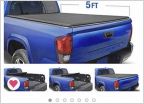 UPDATED: Anyone have experience with this tonneau cover?
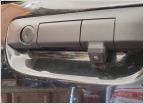 Pop and Lock tailgate locks...
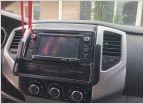 Amazon IPad Mount For Tacoma 2nd Gen
 Suggestions on new shoes for the yota
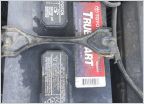 Battery leak?
HELP! Stuck on ReadyLift install & it's almost dark!
Discussion in '2nd Gen. Tacomas (2005-2015)' started by CaliforniaTaco, Jun 3, 2009.
Page 1 of 2
Page 1 of 2


