

-
Welcome to Tacoma World!
You are currently viewing as a guest! To get full-access, you need to register for a FREE account.
As a registered member, you’ll be able to:- Participate in all Tacoma discussion topics
- Communicate privately with other Tacoma owners from around the world
- Post your own photos in our Members Gallery
- Access all special features of the site
 Coolant type
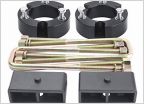 Anyone use this leveling kit from amazon?
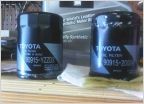 My first oil change
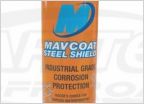 Fluid film
 Is it worth adding resonator?
Mod Day. Mod 2. Installing power point in center console -clean look, LOTS OF PICS-
Discussion in '2nd Gen. Tacomas (2005-2015)' started by ramonortiz55, Dec 13, 2013.
Page 1 of 4
Page 1 of 4


