

-
Welcome to Tacoma World!
You are currently viewing as a guest! To get full-access, you need to register for a FREE account.
As a registered member, you’ll be able to:- Participate in all Tacoma discussion topics
- Communicate privately with other Tacoma owners from around the world
- Post your own photos in our Members Gallery
- Access all special features of the site
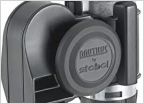 Adding horns, can I install a beefier stock relay?
 Adding Backup Camera Display
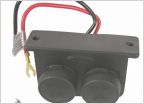 Extra cig adapters - should I be worried about always on?
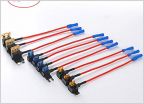 Wiring a Custom Horn
 Using 1000w inverter to charge portable power station...
How To: Quick and Cheap Mud Flap Replacement
Discussion in 'Technical Chat' started by turbofandude, May 1, 2014.


