

-
Welcome to Tacoma World!
You are currently viewing as a guest! To get full-access, you need to register for a FREE account.
As a registered member, you’ll be able to:- Participate in all Tacoma discussion topics
- Communicate privately with other Tacoma owners from around the world
- Post your own photos in our Members Gallery
- Access all special features of the site
 Upper & lower ball joints for '95 Taco
 Rear differential oil change. Help!
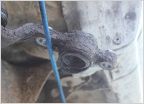
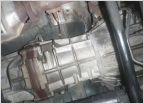 Abnormal manual transmission heat?
 How to go about replacing transfer case motor?
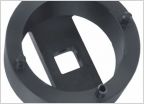 Wheel bearing replacement
My '95 Satoshi Grille
Discussion in '1st Gen. Tacomas (1995-2004)' started by gipsyfetus, May 20, 2014.


