-
Welcome to Tacoma World!
You are currently viewing as a guest! To get full-access, you need to register for a FREE account.
As a registered member, you’ll be able to:- Participate in all Tacoma discussion topics
- Communicate privately with other Tacoma owners from around the world
- Post your own photos in our Members Gallery
- Access all special features of the site
 Big 3 upgrade in Arizona?
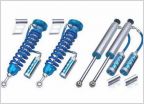 King suspension with all pro leafs
 Arizona Peace Trail!!!
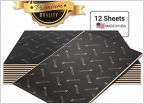 Sound deadening in east valley install wanted
 Arizona Trails....anyone want to show me some
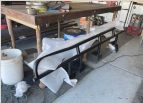 Rock Sliders? Local
New Parts Install Party?
Discussion in 'Arizona' started by Nic914AZ, Aug 8, 2013.