

-
Welcome to Tacoma World!
You are currently viewing as a guest! To get full-access, you need to register for a FREE account.
As a registered member, you’ll be able to:- Participate in all Tacoma discussion topics
- Communicate privately with other Tacoma owners from around the world
- Post your own photos in our Members Gallery
- Access all special features of the site
 3rd Gen stock tweet crossover
 Wireless android auto/apple car play for 2020+
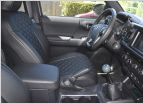 Looking for finished installed pictures of double din HU in 3rd gens.
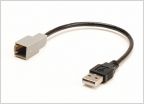 USB EXTENSION part #
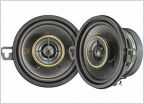 Question about 3rd gen dash speaker impedance and bass blockers.
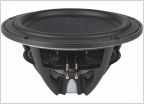
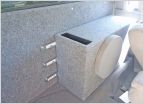 Subwoofer box mounting recommendations
Subwoofer mod under rear seats(double cab)? Who did this?
Discussion in 'Audio & Video' started by twistax, May 13, 2011.
Page 1 of 2
Page 1 of 2


