

-
Welcome to Tacoma World!
You are currently viewing as a guest! To get full-access, you need to register for a FREE account.
As a registered member, you’ll be able to:- Participate in all Tacoma discussion topics
- Communicate privately with other Tacoma owners from around the world
- Post your own photos in our Members Gallery
- Access all special features of the site
 Troubleshooting help...
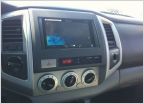 Pioneer AVH-X4500BT Install
 Amplifier Wire Gauge Question
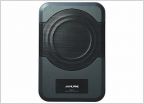 Audio advice alpine setup am I underpowered
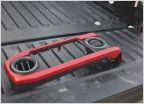 Anybody tear apart a 2016 dash yet?
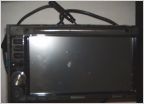 New Headunit Purchase Checklist
**2005+ Tacoma Double Cab Complete Audio Install Tutorial**
Discussion in 'Audio & Video' started by Mr Marv, Oct 11, 2008.
Page 2 of 10
Page 2 of 10


