-
Welcome to Tacoma World!
You are currently viewing as a guest! To get full-access, you need to register for a FREE account.
As a registered member, you’ll be able to:- Participate in all Tacoma discussion topics
- Communicate privately with other Tacoma owners from around the world
- Post your own photos in our Members Gallery
- Access all special features of the site
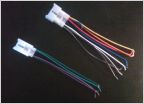 Quick qestion about correct HU wiring harness
 New HU in 2006 JBL Tacoma. Need Wiring Pin-Out
 Thoughts, help, opinions on this possible set up
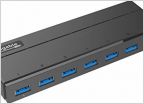 Adding hard wired USB ports
 Need help with radio accesories... stuff...
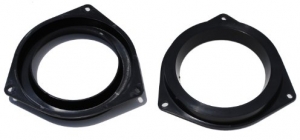
 JBL+Double Din Steering wheel adaptor and wire harness
INSTALL: Steering Wheel Interface 2006 Taco 4d 4wd JBL ( SWI-JACK )
Discussion in 'Audio & Video' started by acozzens, Apr 28, 2009.
Page 1 of 4
Page 1 of 4