

-
Welcome to Tacoma World!
You are currently viewing as a guest! To get full-access, you need to register for a FREE account.
As a registered member, you’ll be able to:- Participate in all Tacoma discussion topics
- Communicate privately with other Tacoma owners from around the world
- Post your own photos in our Members Gallery
- Access all special features of the site
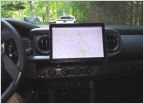 Tablet as Radio
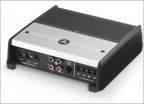 Stereo Upgrade
 2015 Tacoma Entune (NO JBL) Frequency Response?
 Adding an amp on a 2006 factory deck?
 Universal dash kits for aftermarket HU?
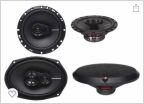 Kicker key vs Alpine power pack
Component Speaker Installs
Discussion in 'Audio & Video' started by Pat, May 31, 2009.
Page 2 of 3
Page 2 of 3


