

-
Welcome to Tacoma World!
You are currently viewing as a guest! To get full-access, you need to register for a FREE account.
As a registered member, you’ll be able to:- Participate in all Tacoma discussion topics
- Communicate privately with other Tacoma owners from around the world
- Post your own photos in our Members Gallery
- Access all special features of the site
 Pairing Amp with Speakers...Advice Please
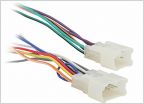 Aftermarket Head Unit Wiring Harnesses
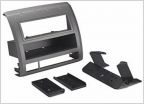 Scosche Single Din from Amazon
 Pop&Lock 8520 and 8521 Guide
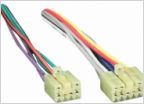 15 Double Cab Entune Stereo upgrade - Stock Deck
 2 way or 3 way door speakers?
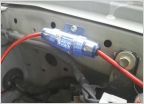
Cobra 75 Install on 05+ Tacoma
Discussion in 'Audio & Video' started by barlowrs, Apr 4, 2010.


