

-
Welcome to Tacoma World!
You are currently viewing as a guest! To get full-access, you need to register for a FREE account.
As a registered member, you’ll be able to:- Participate in all Tacoma discussion topics
- Communicate privately with other Tacoma owners from around the world
- Post your own photos in our Members Gallery
- Access all special features of the site
 Powering an Audio Control LC2i from an amp and sub questions
 DASAITA ANDROID 9.0 UNIT WITH APPLE CARPLAY WIRELESS AND OEM AUDIO PLUS
 Subwoofer Repair
 Help me build my a moderate sound system
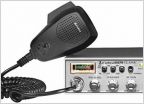 CB install checklist... Thoughts?
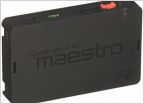 Aftermarket radio steering wheel control modules
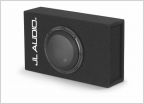
05-11 Access Cab 10" Custom Sub Enclosure
Discussion in 'Audio & Video' started by tacomaSquid2011, Oct 5, 2011.


