

-
Welcome to Tacoma World!
You are currently viewing as a guest! To get full-access, you need to register for a FREE account.
As a registered member, you’ll be able to:- Participate in all Tacoma discussion topics
- Communicate privately with other Tacoma owners from around the world
- Post your own photos in our Members Gallery
- Access all special features of the site
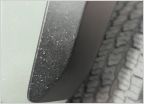 Is there a trick to keep fender flaires looking black?
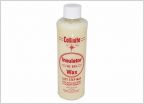 Meguiars NXT Generation vs Nu finish?
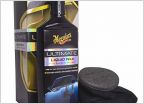 What to use on tenured tonneau cover
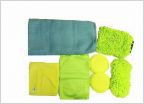 Sponge, brush or something else whe washing your truck?
 Paintless dent removal tool kits?
 Marks on clear coat
How to:Stop oxidation of headlights with no upkeep
Discussion in 'Detailing' started by AhviFree, Apr 28, 2013.


