

-
Welcome to Tacoma World!
You are currently viewing as a guest! To get full-access, you need to register for a FREE account.
As a registered member, you’ll be able to:- Participate in all Tacoma discussion topics
- Communicate privately with other Tacoma owners from around the world
- Post your own photos in our Members Gallery
- Access all special features of the site
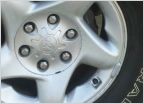 Black specks on wheels
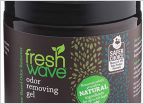 Skunk odor in cab
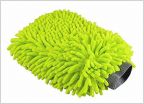 What kind of wash mitt do you use?
 Black indoor door panel scratches / scuffs
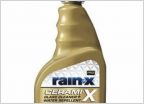 RainX Ceramic Glass Cleaner & Repellant
 Optimum Poli-Seal - not slick?
Painting Badges!!
Discussion in 'Detailing' started by VooDoo, Mar 7, 2010.


