

-
Welcome to Tacoma World!
You are currently viewing as a guest! To get full-access, you need to register for a FREE account.
As a registered member, you’ll be able to:- Participate in all Tacoma discussion topics
- Communicate privately with other Tacoma owners from around the world
- Post your own photos in our Members Gallery
- Access all special features of the site
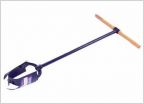 Experience using towed auger/post hole digger?
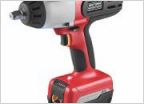 Craftsman 20V Cordless Impact Wrench is Bad Ass!
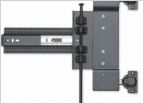 Looking for pivot and slide door hinge?
 Best way to cut a hole for outlet in kitchen cabinet?
 Home camera systems?
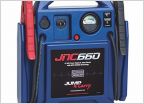 Portable Jump Starters
Expanding our deck from 120 SQ/FT to about 550 SQ/FT
Discussion in 'Garage / Workshop' started by BTR, Jul 29, 2013.
Page 2 of 6
Page 2 of 6

