

-
Welcome to Tacoma World!
You are currently viewing as a guest! To get full-access, you need to register for a FREE account.
As a registered member, you’ll be able to:- Participate in all Tacoma discussion topics
- Communicate privately with other Tacoma owners from around the world
- Post your own photos in our Members Gallery
- Access all special features of the site
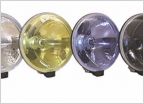 Hella 500ff or hella 500ff black magics?
 KC | Rear Facing LED Tail-light Bar
 Put a new set of LED strobes on my Taco
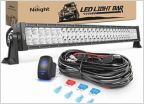 Finally mounted an LED lightbar behind the grill. Can't wait to hit the mall parking lot after dark!
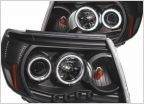 Anzo USA Lights
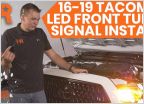 Gen 3 LED turn signal hyperflash
Driving/Off Road lights on/off with high-beams
Discussion in 'Lighting' started by bmiranda, Nov 17, 2012.


