

-
Welcome to Tacoma World!
You are currently viewing as a guest! To get full-access, you need to register for a FREE account.
As a registered member, you’ll be able to:- Participate in all Tacoma discussion topics
- Communicate privately with other Tacoma owners from around the world
- Post your own photos in our Members Gallery
- Access all special features of the site
 KC CYCLONE V2 color demo
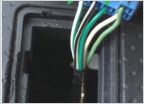 Adding junction to Rheostat for additional switches illumination. 2nd Gen
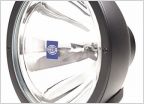 Installing lights on Bullbar
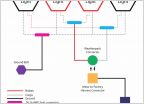 Meso Customs BD4 Third Brake Light Install - A Layman's Guide
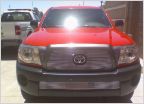 Any advice on Fog lamps?
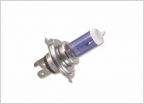 Piaa Intense White bulbs
HELP: HID Retrofit–Rotational Alignment
Discussion in 'Lighting' started by chadtoks, Aug 13, 2013.


