

-
Welcome to Tacoma World!
You are currently viewing as a guest! To get full-access, you need to register for a FREE account.
As a registered member, you’ll be able to:- Participate in all Tacoma discussion topics
- Communicate privately with other Tacoma owners from around the world
- Post your own photos in our Members Gallery
- Access all special features of the site
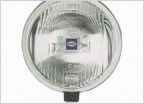 Are Hella 500's any good?
 Engine Bay LED Install
 Aftermarket headlight housings for retrofit?
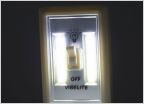 Easiest/cheapest solution to interior lights/topper lights (battery operated COB LEDs)
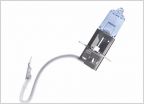 Piaa lights replacement
 LED Lightbar Backlighting DIY
Lights from the retrofit source. HID install
Discussion in 'Lighting' started by oceanslide, Apr 22, 2014.


